Still Life Techniques - Painting the Background and Foreground
This lesson illustrates a step by step process for painting the background and foreground of a still life.
This step by step lesson explains and illustrates the technique used to paint the background and foreground in our Still Life Painting lesson. By following the illustrated stages below we lead you through the key points of their painting technique from their flat underpainting to their subtly shaded tones that hold the objects in a unified group.
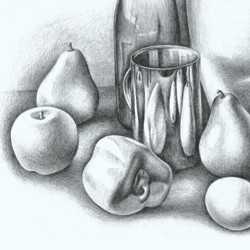
Step 1 - Paint the background and foreground first
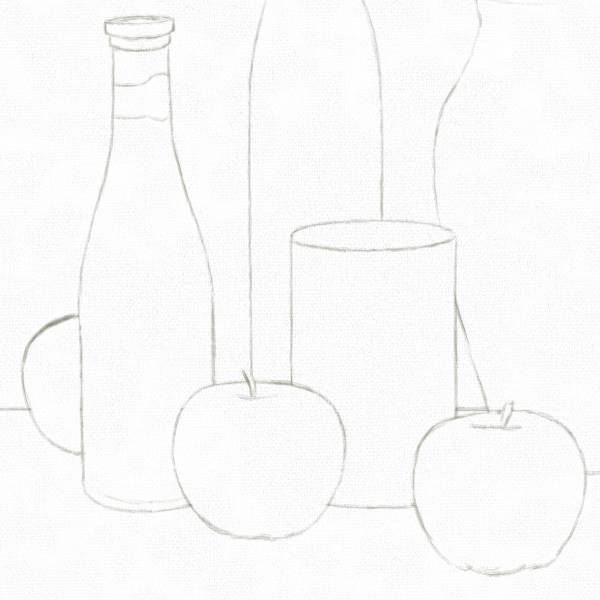
Once you have finished drawing a still life, the background and foreground are usually the first things you should paint.
-
It is more practical to paint the objects in order from back to front, as it is technically easier to paint the edge of any object over the preceding one.
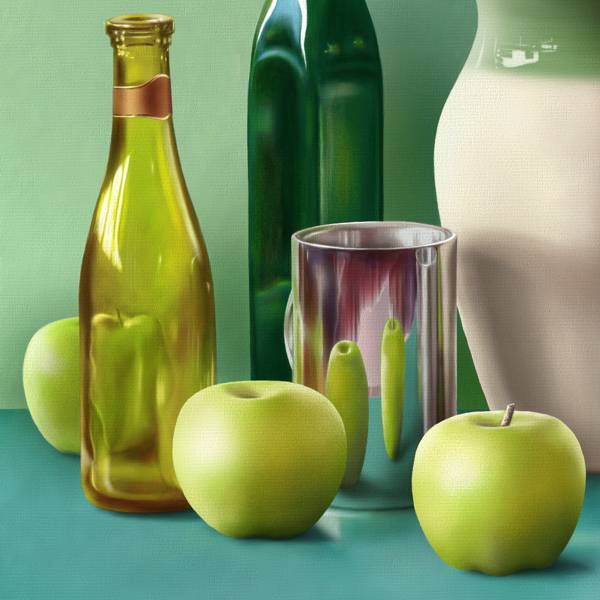
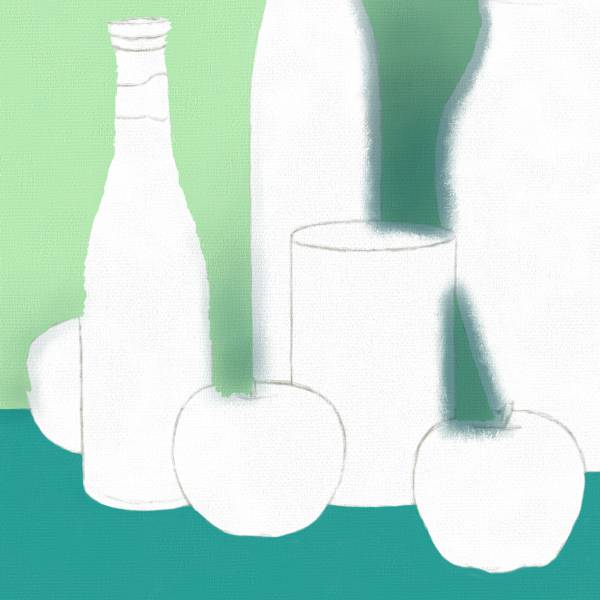
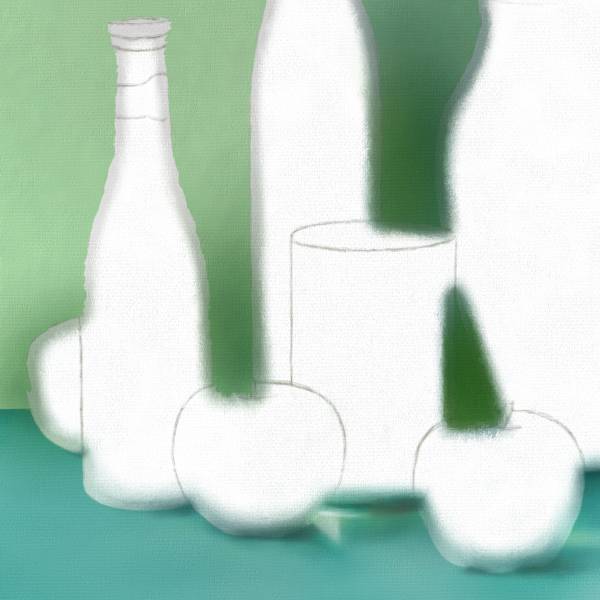
Step 2 - Underpaint the background and foreground

Start the background and foreground by underpainting both with flat areas of color, taking care to slightly overlap the edges of all the adjacent still life objects.
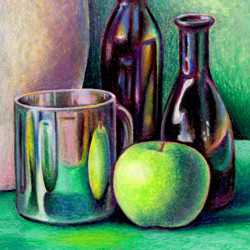
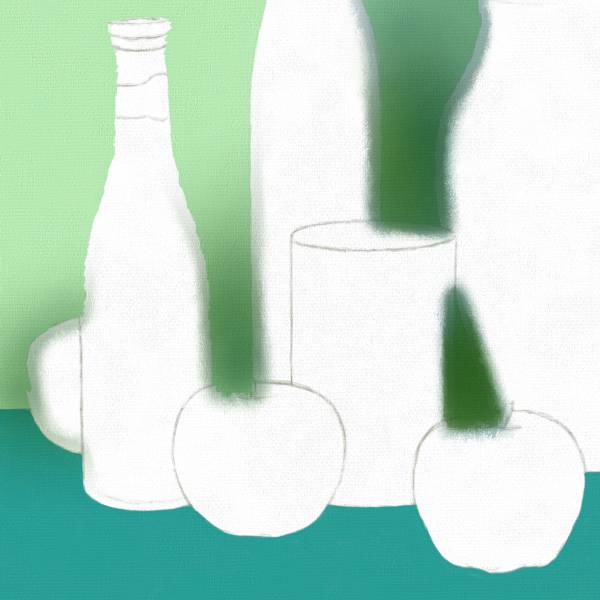
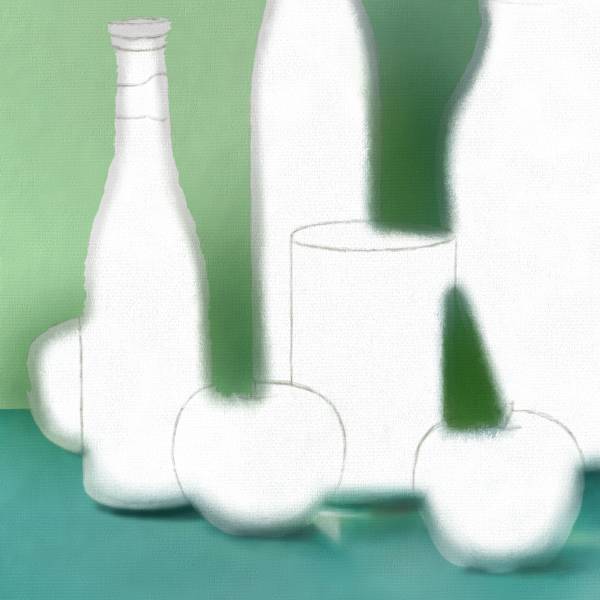
Step 3 - Apply the first layer of dark tones
Apply the first layer of dark tones to the background using a thin glaze of transparent color, stippled and blended with a soft sable brush.
-
Take care to ensure that you overlap the edges of any underpainted color as you do not wish to leave any gaps which could be difficult to rectify at a later stage.
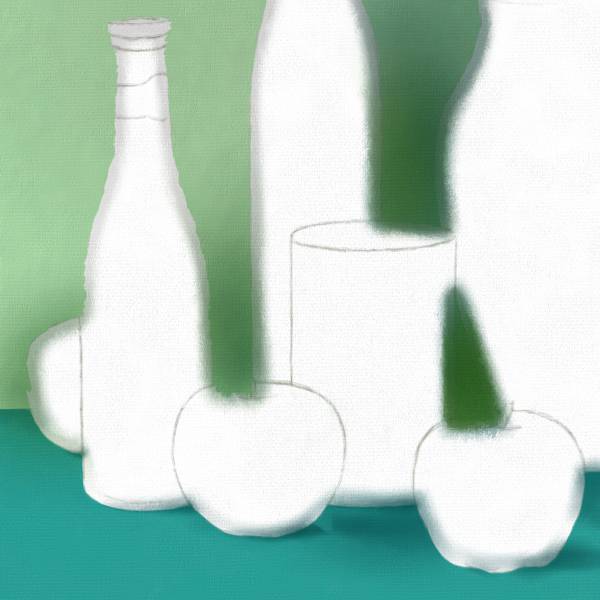
Step 4 - Build up the intensity of the tones
Build up the intensity of the tone with another thin glaze glaze of color.
-
Use as many glazes of color as you need to reach the depth of tone you desire.
-
The translucent quality that you can achieve by building up thin layers of transparent paint adds a vibrant depth to your tone and color.
Step 5 - Unify the tones of the background

Unify the overall tone of the background with a final glaze of color that helps to merge and balance both glazed and unglazed areas.
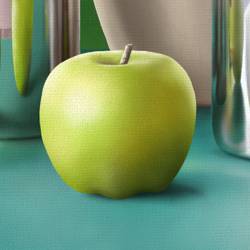
Step 6 - Apply a layer of tone to the foreground
Apply the first layer of dark tone to the foreground using a thin transparent glaze of color, stippled and blended with a soft sable brush.
-
Take care to ensure that you overlap the edges of any underpainted color.
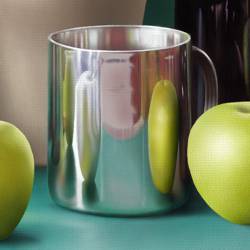
Step 7 - Use a white glaze for reflected light
Transparent glazes of color usually have the effect of darkening tones. Sometimes you need to lighten certain areas which require a thin glaze mixed with white for increased opacity.
-
The areas of reflected light in the foreground are painted by building up thin glazes of white.
Step 8 - Unify the foreground
Unify the overall tone of the foreground with a final glaze of color that helps to merge and balance both glazed and unglazed areas.
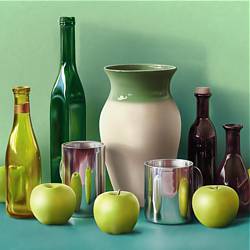
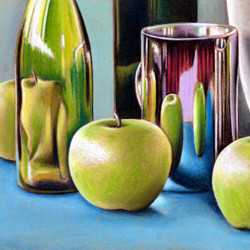
Step 9 - The background and foreground in context
You can see how much more natural the background and foreground appear when seen in context with the other still life objects.
-
Learning to draw and paint is as much about learning to trust what you see as it is about your technical ability to render it.