Aboriginal Art Dreaming Stories - The Emu in the Sky
The Emu in the Sky is the dark patch between the stars which is known to the Aboriginal people as Wej Mor.

'The Emu in the Sky'
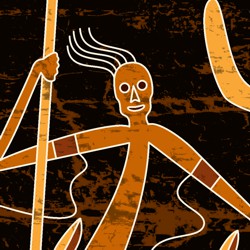
Long ago in the Dreaming there was a cat called Jooteetch who was married to an Emu called Wej. One day, Wardu the wombat paid a visit to Wej while Jooteetch was out hunting. Wardu was secretly in love with Wej and she was tempted by his charms. At sundown, Wej told Wardu to leave before Jooteetch returned as he would kill them both in a jealous rage. However, before Wardu left he painted Wej with a precious red ochre that was used for special ceremonies.
When Jooteetch returned he asked Wej why she was decorated with this precious ochre and who gave it to her? She told him that she found it but he knew she was lying as he had recognized Wardu's tracks leaving their camp. Jooteetch pretended to believe her and asked her to build a fire for the cold night ahead. When the fire was ablaze he grabbed Wej and threw her into the flames. With the strength of her powerful legs she jumped so high into the sky that she never ever returned.
Now on a dark night, if you look up at the Milky Way, you can see her as the dark patch between the stars which is known to the Aboriginal people as Wej Mor.
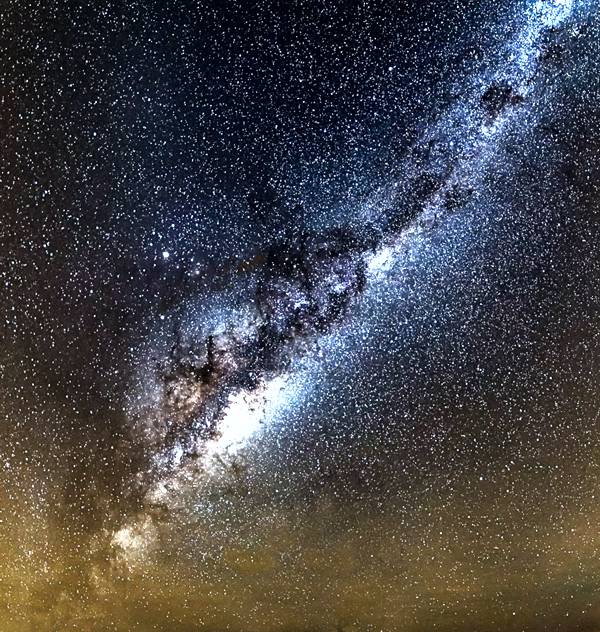
The 'Milky Way' highlighting the shape of 'The Emu in the Sky'
Astronomy plays a big part in Aboriginal culture. Many Aboriginal groups use the movement of the planets and stars as a calendar to calculate the seasons and fix the date of certain tribal activities. They also attribute religious or mythological significance to certain celestial forms. The 'Emu in the Sky' is a spectacle which is visible in the Autumn sky. Dark nebulae (interstellar dust and gases) contrast with the bright stars of the Milky Way to form the shape of an emu.
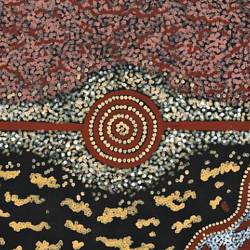
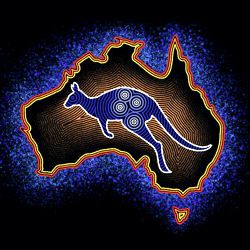
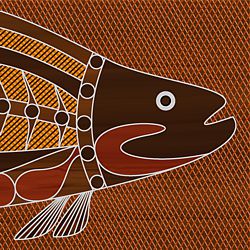
The Painting Process for our Page Illustration
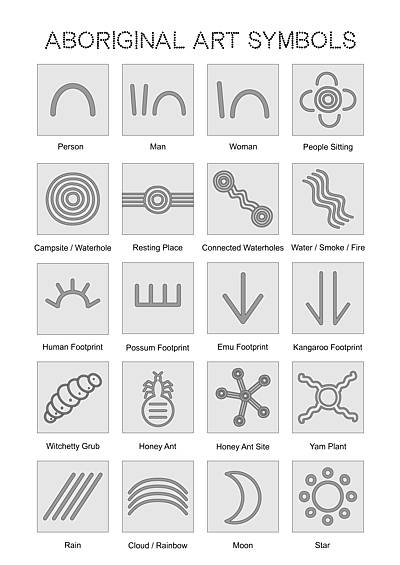
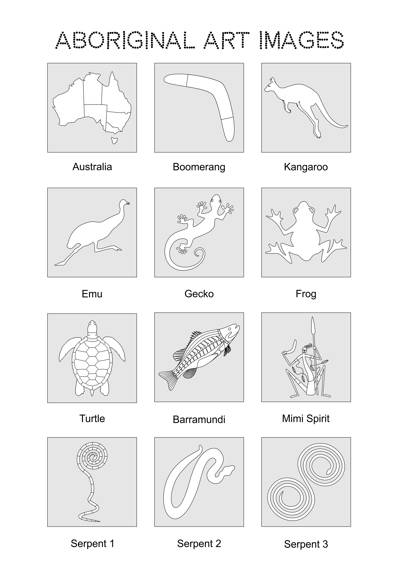
Many of the topics in our Aboriginal Art pages are illustrated with a painting that was inspired by the theme of that page. For each of these we have created a step by step slide show that deconstructs the image to reveal the painting process and inspire possibilities for your own ideas. The images and symbols used to create our illustrations can be found in our menu at the foot of the page. They are available for you to download to help with creating your own artworks.

- Slide Show
- emu-in-the-sky-9
The Emu in the Sky
- emu-in-the-sky-2
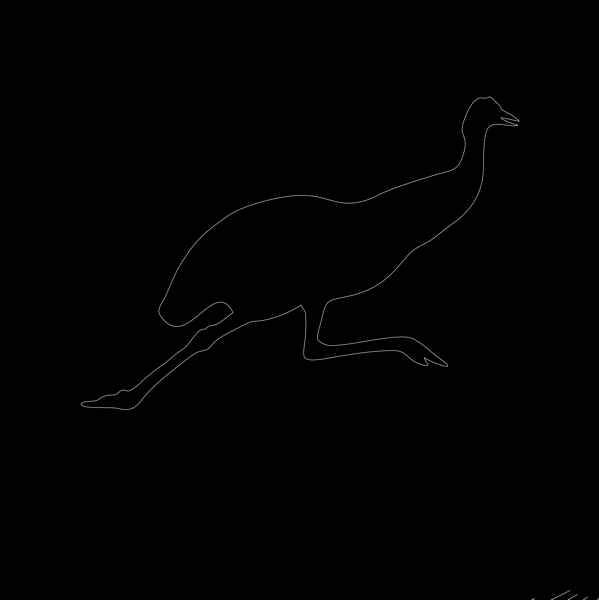
1. The outline of an emu is drawn with a white color pencil on a black ground.
- emu-in-the-sky-3
2. The shape of the emu is outlined with white dots.
- emu-in-the-sky-4
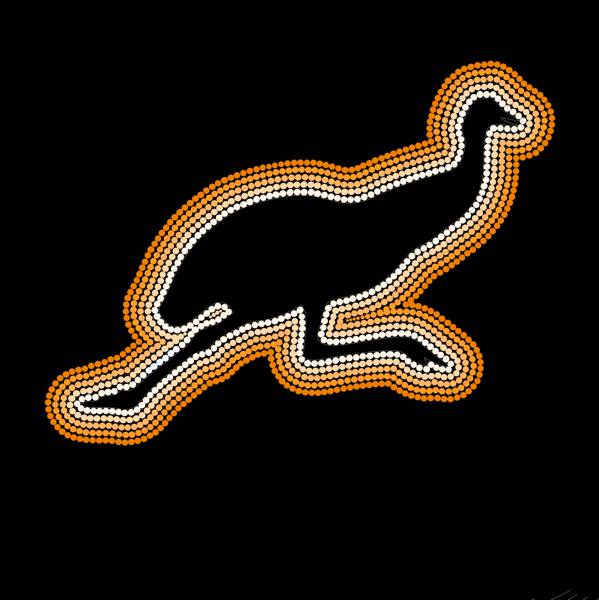
3. Concentric contours that graduate from light to dark ochres are dotted around the emu.
- emu-in-the-sky-5
4. As more contours are added, they become progressively darker, suggesting the movement of the emu.
- emu-in-the-sky-6
5. Contours continue to be added and darkened until they blend into the black ground.
- emu-in-the-sky-7
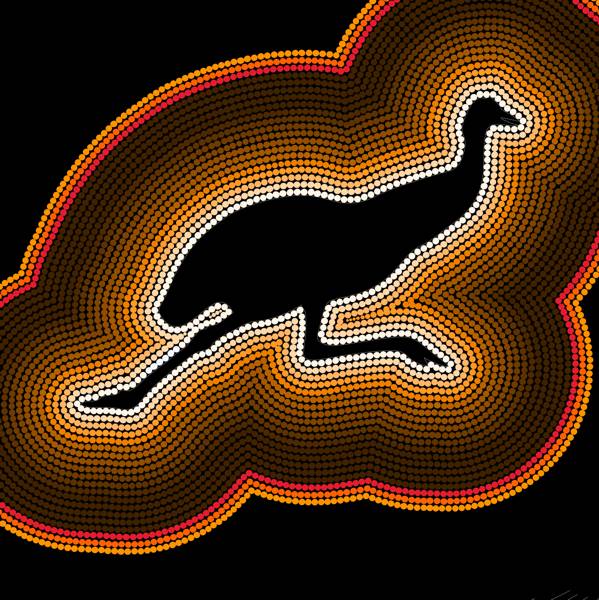
6. Three rows of red, orange, and yellow dots are applied to suggest the heat of the flames.
- emu-in-the-sky-8
7. Four rows of dark contours are added, followed by the red, orange, and yellow rows of flame.
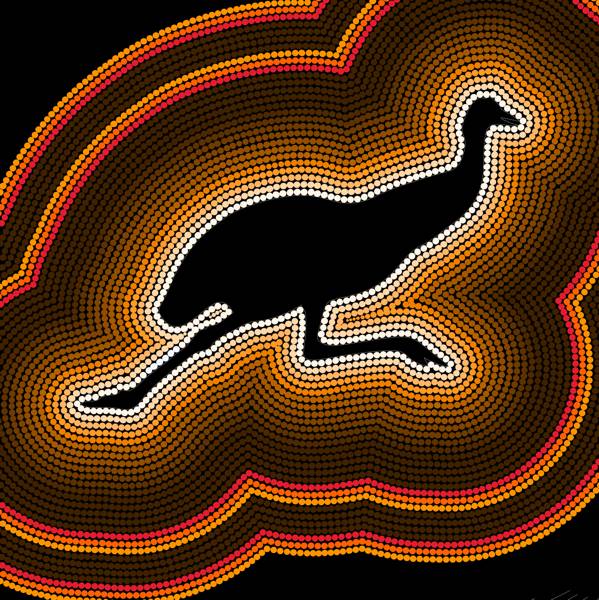
- emu-in-the-sky-9
8. The pattern of dark rows followed by the rows of flames is continued to the edge of the painting.
(Click on the play buttons or swipe back and forward to explore each stage of our painting.)
Key Stages of the Painting
-
The outline of an emu is drawn with a white color pencil on a black ground.
-
The shape of the emu is outlined with white dots.
-
Concentric contours that graduate from light to dark ochres are dotted around the emu.
-
As more contours are added, they become progressively darker, suggesting the movement of the emu.
-
Contours continue to be added and darkened until they blend into the black ground.
-
Three rows of red, orange, and yellow dots are applied to suggest the heat of the flames.
-
Four rows of dark contours are added, followed by the red, orange, and yellow rows of flame.
-
The pattern of dark rows followed by the rows of flames is continued to the edge of the painting.

