Pop Art Portrait - Lesson Plan
This lesson demonstrates how to simplify an image to create a classic Pop Art portrait. Follow our step by step example to see how a photo of the Mona Lisa is transformed into a Pop Art icon.
This lesson explains how to create a Pop Art Portrait in two stages:
-
In the first part of the lesson we show you how to take a photographic image and reduce it to basic tones of dark and light.
-
In the second part of the lesson we use this image to produce a range of Pop Art Portraits enhanced with color, tone, pattern and texture.
-
You also have the quicker option of printing and using any of our readymade portraits which can be found in the links at the bottom of each page.
Step 1 - Choosing an Image
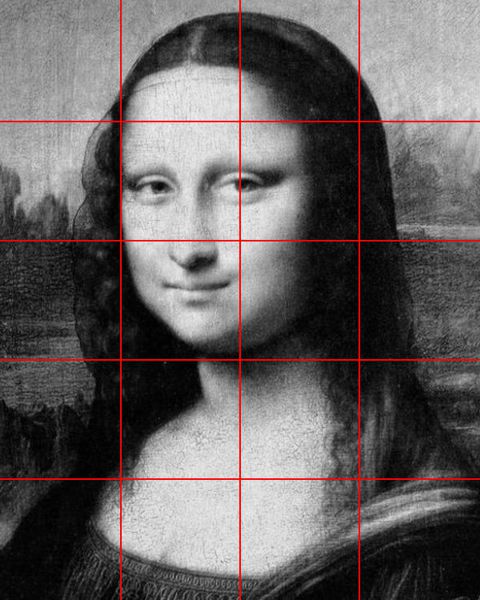
Start with a photocopy or photograph of the image you wish to use for your Pop Art Portrait.
-
For this demonstration we have chosen a detail of Leonardo's Mona Lisa, the most famous portrait in the history of art, but you could use any image that you want.
Note: It is best to use black and white images that have a strong contrast between their areas of dark and light. We sourced a color image of the Mona Lisa which we photocopied into black and white. It is also helpful, as you will discover later in this lesson, that the proportions of your image can be divided into squares. To this end we have cropped the edges of our Mona Lisa so that it fits into a 4x5 square grid.
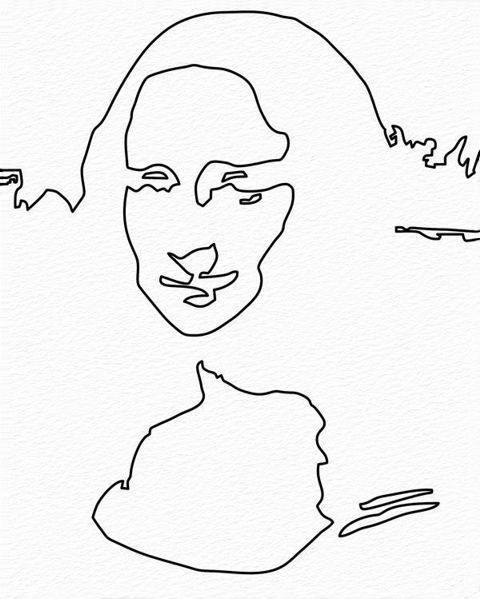
Step 2 - Outline the Areas of Dark and Light
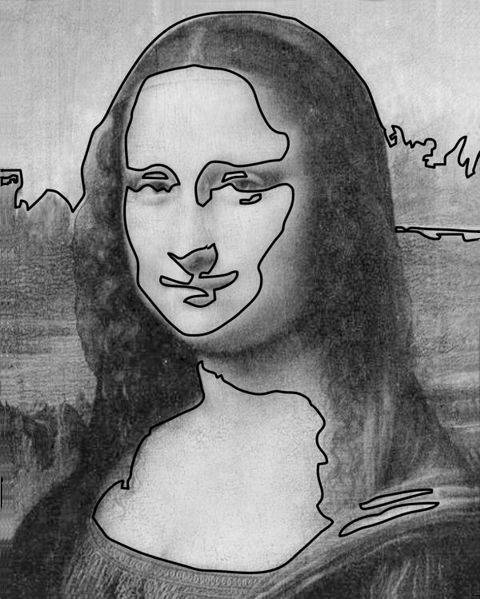
Draw an outline to simplify and separate the main areas of dark and light in the image. It is best to keep the outline strong and simple without too much detail.
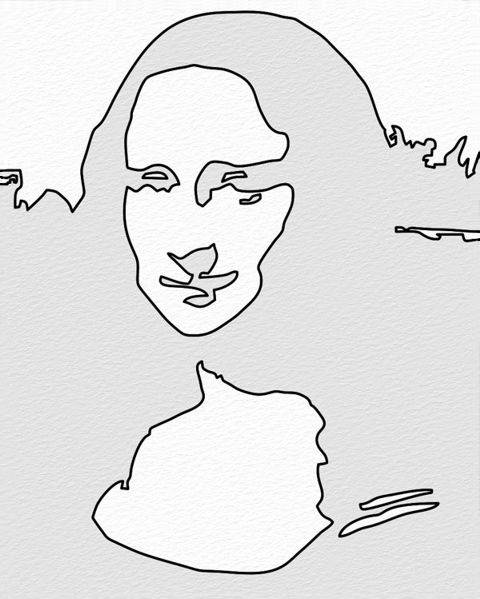
Step 3 - Trace and Transfer
Trace and transfer your outline drawing onto a fresh sheet of paper. You can do this by using tracing paper or a lightbox.
'Trace and transfer' technique: Take a tracing of your outline drawing and draw carefully over the back of it so that you have the same image pencilled on both sides. Now place your tracing onto a sheet of paper and draw heavily over the lines to transfer the image. Use a soft grade pencil (grade B or 2B) as this will transfer your image more clearly.
Step 4 - Adding Tone
Shade in the dark areas of your drawing to re-establish the basic tones of the original portrait.
-
This will help you when it comes to selecting appropriate tones, colors, patterns and textures for your image.
Step 5 - Scaling up the template image
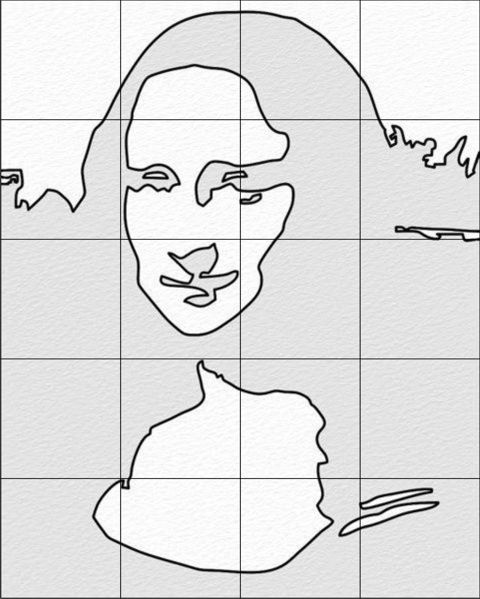
Your two-tone drawing is now ready to use as a template to produce a range of Pop Art Portraits using color, tone, pattern and texture as illustrated in our examples below.
Note: It is helpful to draw a square grid over the image so that you may transfer your drawing section by section to any scale that you require. On completion you can erase the grid lines.
For anyone wanting a shortcut, you also have the option of printing any of our readymade portraits which can be found in the links at the bottom of each page.
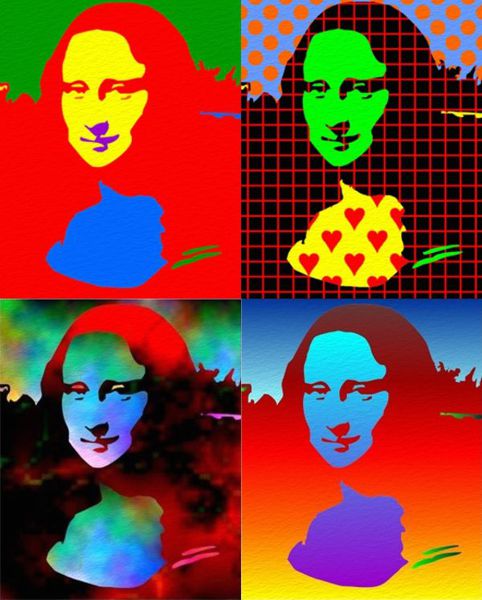
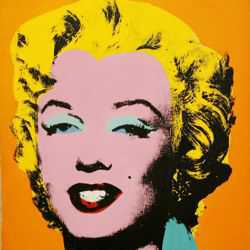
Pop Art Portrait Examples - Color
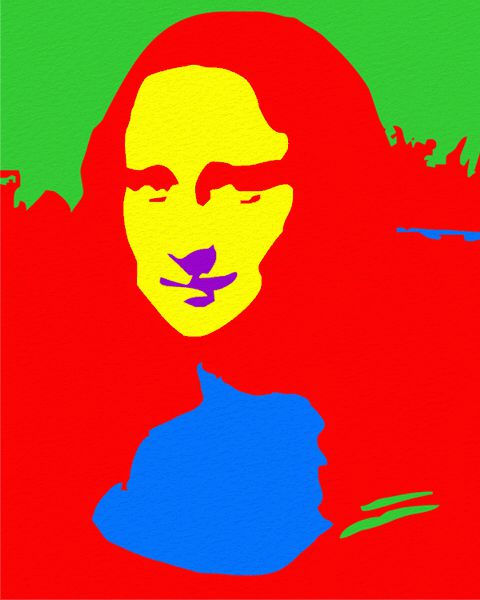
In this example, our Pop Art Portrait was created by coloring a template drawing with primary and secondary colors.
-
Try to select the brighter colors for the lightest tones and darker colors for the darkest tones.
-
If you are not careful in balancing the tones and colors, the image may lose some impact or even look like a negative.
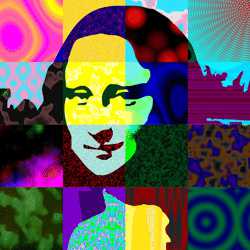
Pop Art Portrait Examples - Pattern
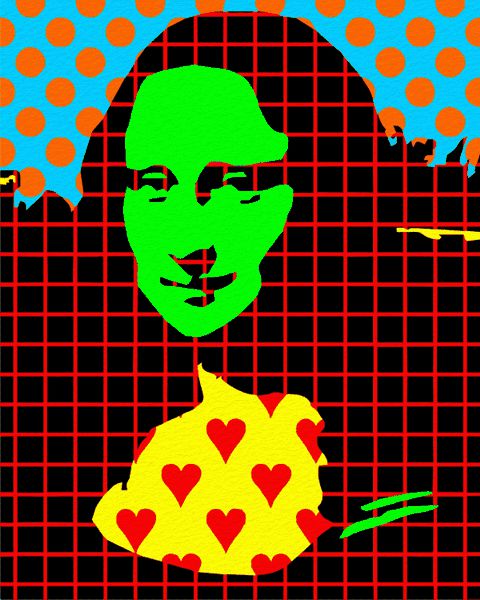
In this example, our Pop Art Portrait was created by filling sections of a template drawing with different patterns.
-
The central area of the face and the small details were filled with single colors to make them more visible against the strong pattern.
-
Too much pattern has the effect of camouflaging the image.
-
Care has also been taken over the tonal composition, being careful to select brighter patterns and colors for the lighter tones.
Pop Art Portrait Examples - Tone
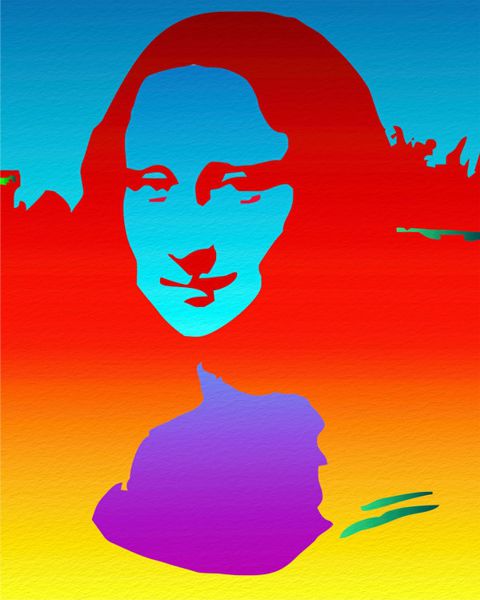
In this example, our Pop Art Portrait was created by filling sections of a template drawing with graduated colors. Each section was masked off and blended colors were used to create a graduated effect.
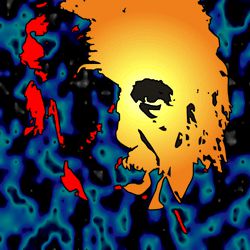
Pop Art Portrait Examples - Texture
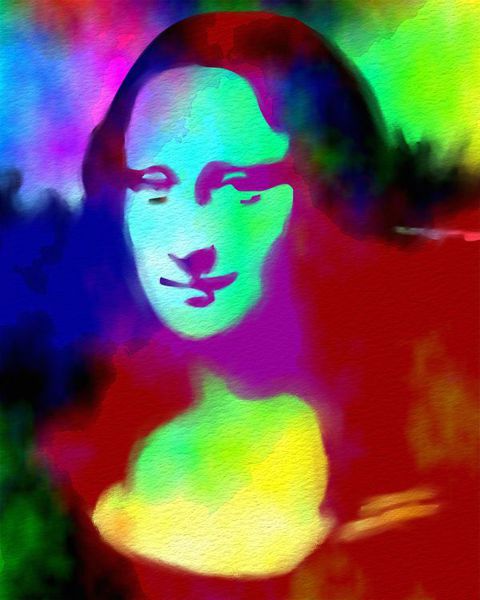
In this example, our Pop Art Portrait was created by shading the different tonal sections of the work with color dyes. You could also use watercolor.
- First, light colors were applied at random over the whole drawing and allowed to bleed together.
- Next, the light areas of tone were masked.
- Finally, darker transparent colors were applied to the exposed areas resulting in a fluid two-tone effect.
These templates are free to copy and print to help you with drawing a Pop Art Portrait.