Still Life Techniques - Painting a Vase
This lesson illustrates a step by step technique for painting a ceramic vase with a shiny glazed surface.
This step by step lesson explains and illustrates the technique used to paint the vase from our Still Life Painting lesson. By following the illustrated stages below we lead you through the key points of its painting technique from the flat underpainting of its shape to the finished details of its lustrous glaze.
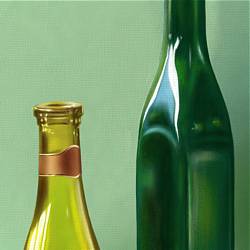
Step 1 - Paint the background first
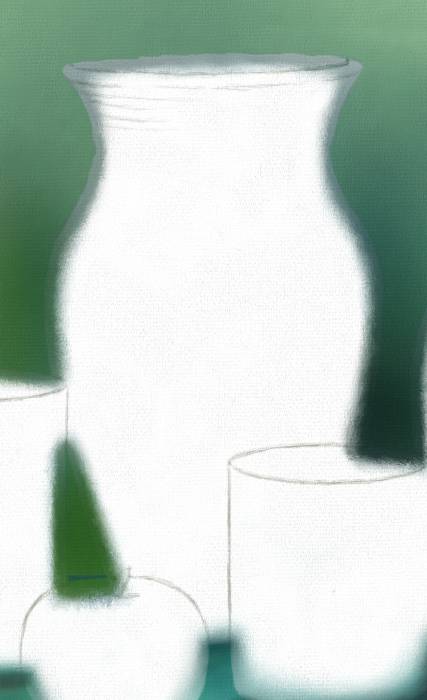
Before you start painting any still life object, it is best to paint its background first.
-
It is more practical to paint the objects in order from back to front, as it is technically easier to paint the edge of any object over the preceding one.
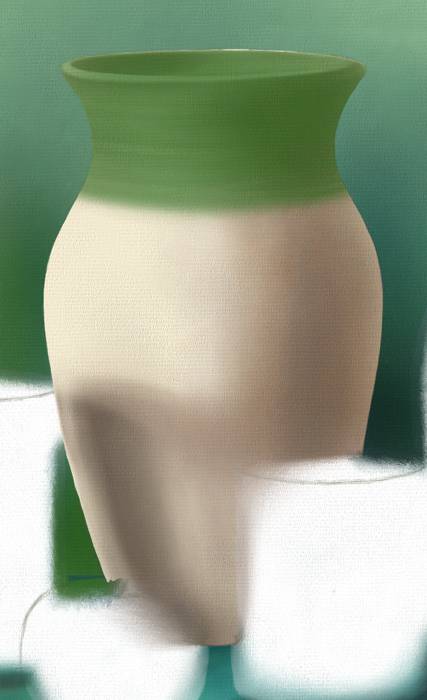
Step 2 - Underpaint the vase
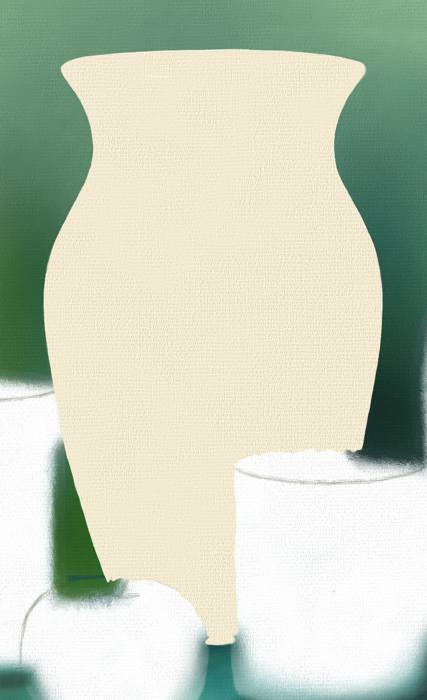
Start by underpainting in the shape of the vase with a flat area of opaque color, taking care to establish its outline as accurately as possible.
Step 3 - Apply the dark tones
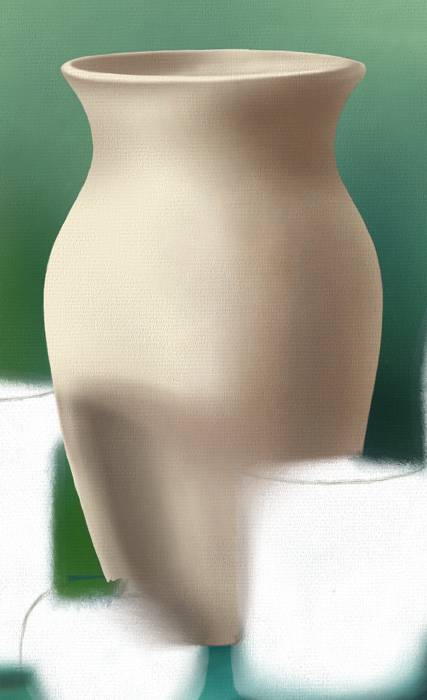
Apply the first layers of dark tone using thin glazes of transparent color, softly blended with a sable brush.
-
The aim at this stage is to establish the basic form of the vase by carefully building up its graduated areas of tone.
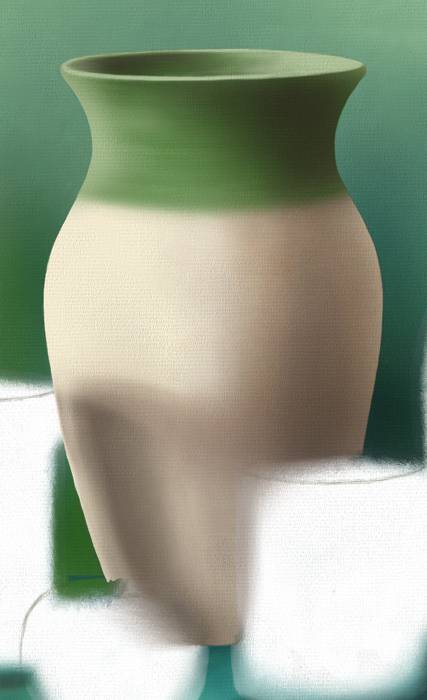
Step 4 - Apply the band of color around the top
The transparent band of color around the neck of the vase is applied in a flat transparent glaze of green.
-
Some of the tonal contrast of the vase is lost beneath this green glaze and needs to be re-established at the next stage.
Step 5 - Rebalance the tonal contrast of the vase

At this stage we re-establish the tonal contrast of the vase with a further application of dark tones.
Step 6 - Build up the light tones
Next, we build up the light tones of the vase with thin transparent glazes of white, carefully graduating and blending them with a soft sable brush.
-
The aim here is to create a natural balance between the dark and light tones of the vase.
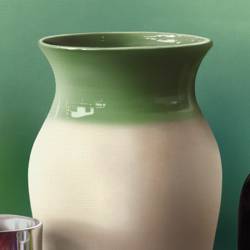
Step 7 - Build up the highlights
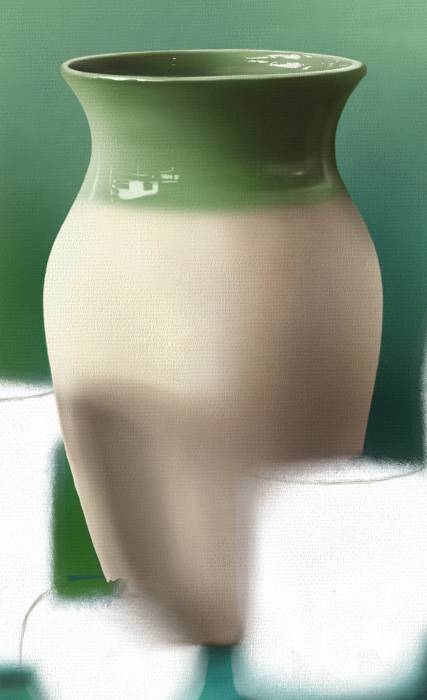
Finally, we apply a range of highlights using both transparent and opaque glazes of white to suggest its lustrous surface.
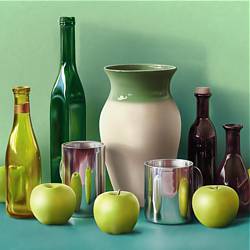
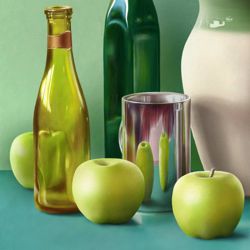
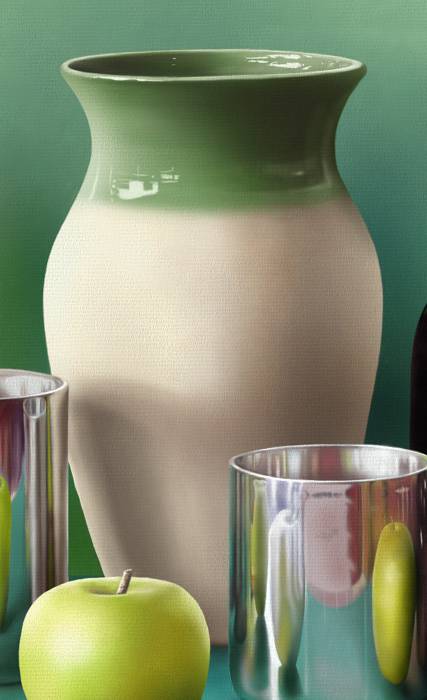
Step 8 - Add the surrounding objects
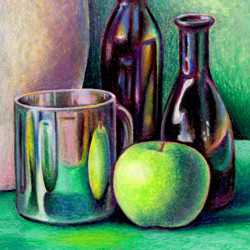
The accuracy of your observations is confirmed when you see the finished vase in the context of the other still life objects.