How to Draw a Tree
This lesson explores the step by step process of drawing a tree. It demonstrates a detailed drawing technique of an old silver birch and teaches us to see our subject with a sharper perception.

- How to Draw a Tree
- tree-trunk-7
How to Draw a Tree
- tree-trunk-1
How to Draw a Tree Step 1
- tree-trunk-2
How to Draw a Tree Step 2
- tree-trunk-3
How to Draw a Tree 3
- tree-trunk-4
How to Draw a Tree Step 4
- tree-trunk-5
How to Draw a Tree Step 5
- tree-trunk-6
How to Draw a Tree Step 6
- tree-trunk-7
How to Draw a Tree Step 7

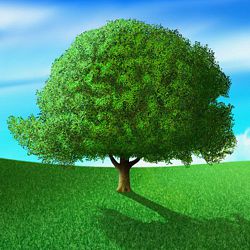
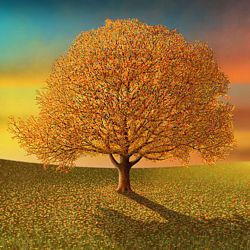
Nature in its infinite diversity is awe-inspiring. If we take a walk in the countryside, we become immersed in the overwhelming grandeur of the natural world: its variety of flora and fauna, the intensity and subtlety of its color, the effects of its shifting light, the movement of the trees and clouds in the wind, and the changing textures and forms that map its cycles of growth and decay. Wherever we look all is in a state of transition. Some artists try to capture this ephemeral spirit of the landscape, while others look closely at a single element: a tree, a branch, a leaf, a flower etc. to document or discover the beauty that lies therein.
Our lesson on how to draw a tree focuses on the latter approach, a close-up rather than a wide-angle view. The close observation involved in this technique teaches us to look with a clarity of vision that many of us lose as we grow out of the 'wide-eyed' wonder of our childhood. To restore this 'beginner's mind', we must slow down to focus on the uniqueness of what we see, revealing an intensity of experience that we otherwise miss.
How to Draw a Tree - A Line Drawing
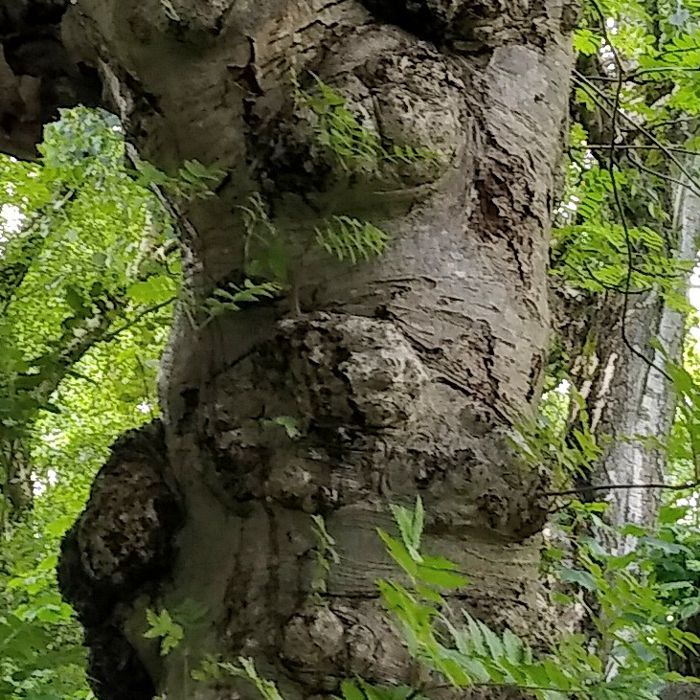
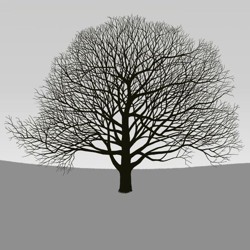
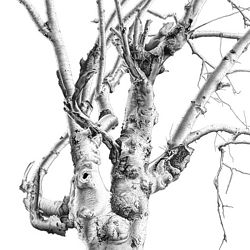
Our drawing of a tree is a detailed study of a decaying silver birch. Old trees make great subjects as their venerable age is etched on their scarred bark and twisted limbs. Drawing such time-worn timbers immerses us in the entrancing peculiarities of nature, opening our senses to the rich vitality of our extraordinary world.
-
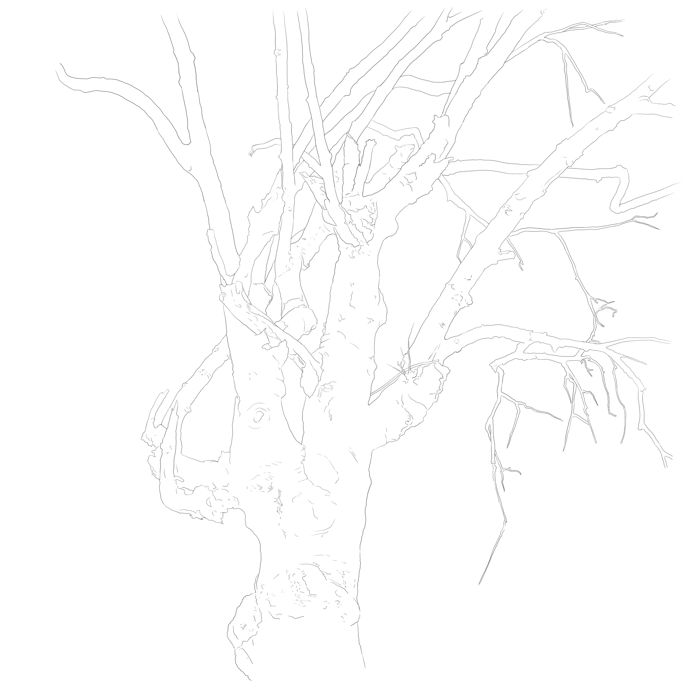
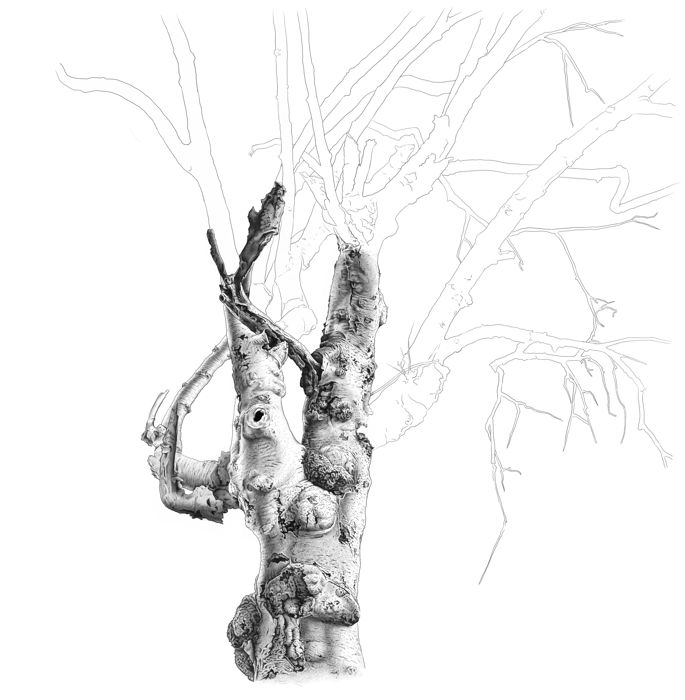
There is a painstaking amount of detail in our subject, and to deal with this we must break it down into manageable elements.
-
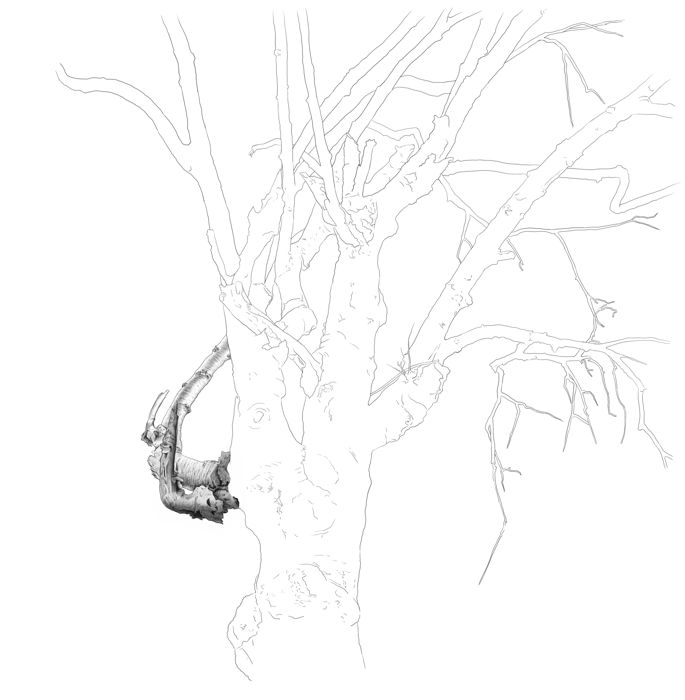
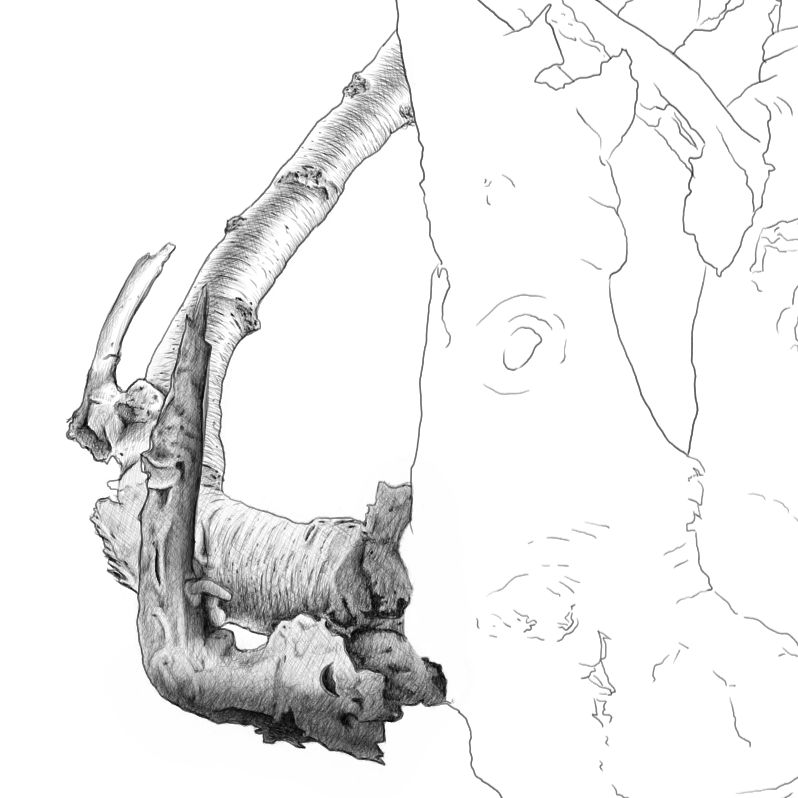
The first step is to start with a line drawing, outlining the trunk and branches and mapping the position of key details.
-
This allows us to gain some control of the form of the tree by establishing a boundary that we can begin to tackle bit by bit, gradually building up the whole.
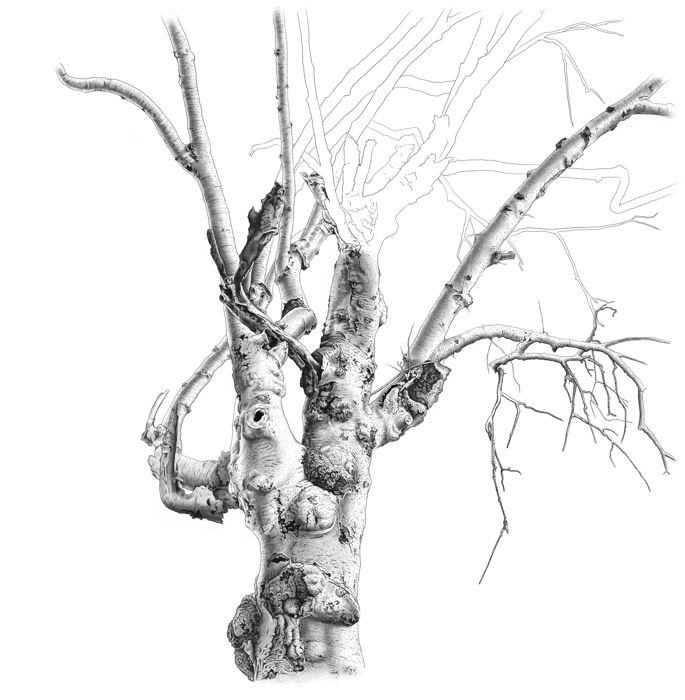
How to Draw a Tree - Shading Technique
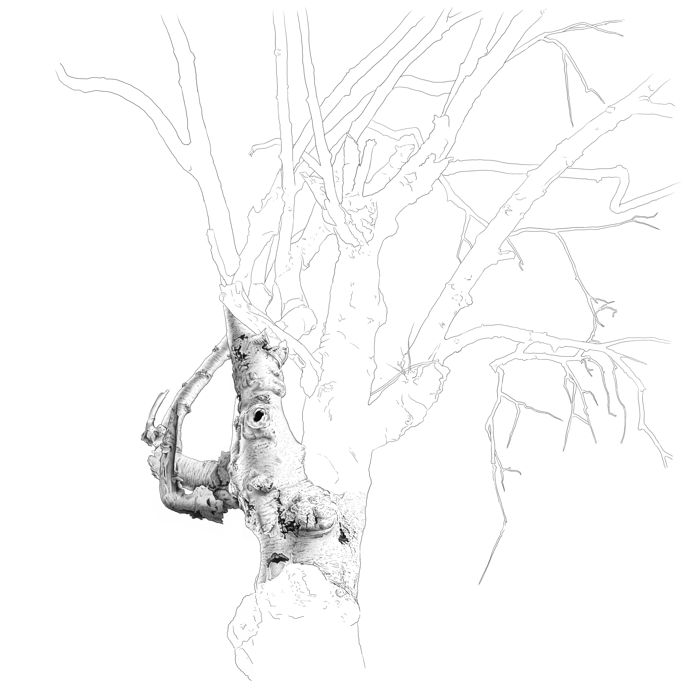
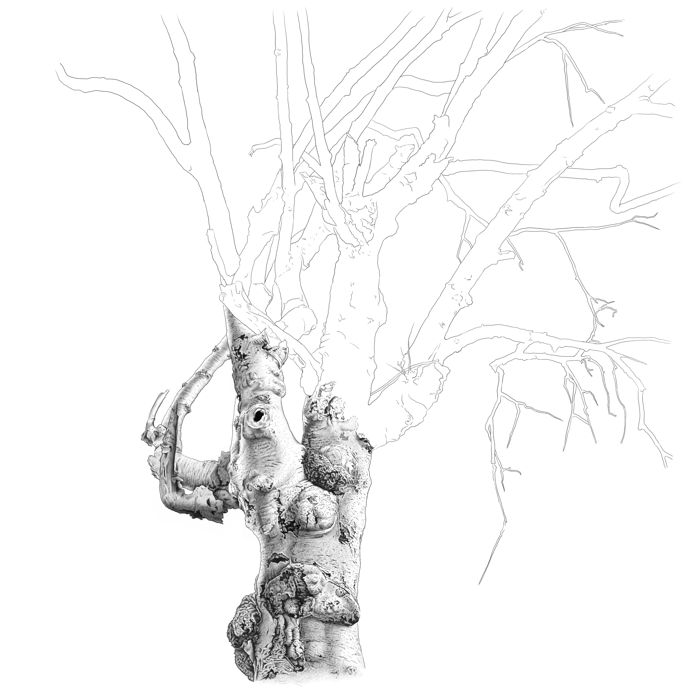
In this slide show we illustrate the various stages of shading used to build up the density of form we desire in our drawing. The shading of a drawing is built up in stages as we cannot take in the depth of tone and detail in our first look at the subject. The process involves looking again and again to build up the fullness of the image layer by layer.
- Stages of Shading
- tree-trunk-detail-1a
Stage 1
- tree-trunk-detail-2a
Stage 2
- tree-trunk-detail-3a
Stage 3
- tree-trunk-detail-4a
Stage 4
The shading of our drawing can be broken down into four basic stages:
-
Stage 1: We begin with an outline and a few key markings to guide our initial areas of shading.
-
Stage 2: We lightly blend in those areas of shadow that we need to establish the basic tones of our branch.
-
Stage 3: We start to build up relationships between areas of tone, indicating the different levels of light and dark within the shadows. We also become more focused on the techniques we use to create shading: some sections may be softly smudged; some may be stippled to add detail; and some may be hatched with rhythmic lines to emphasise the curvature of a form.
-
Stage 4: We take a final look at what we have drawn and try to balance the tones throughout. Some areas are darkened, some are lightened, some are sharpened, some are softened, all to achieve the most relevant balance of elements across the drawing.
How to Draw a Tree - Detail 1
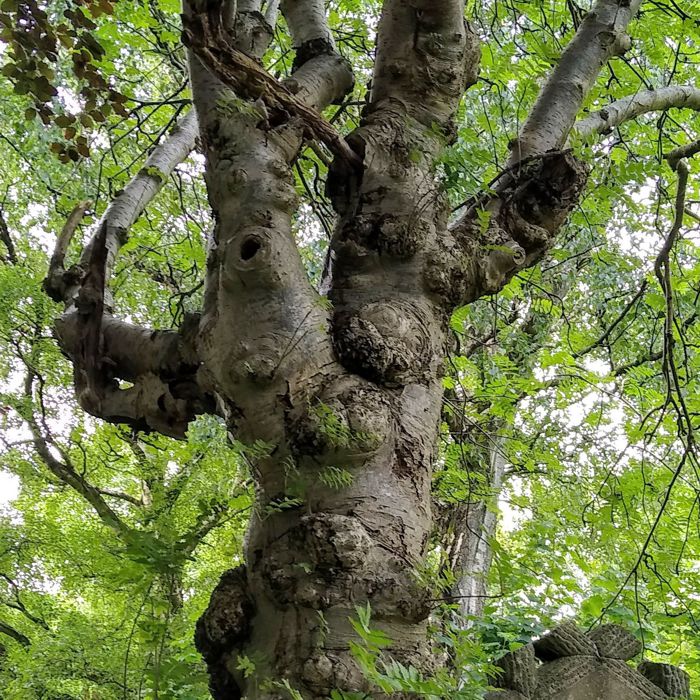
We will now examine some details of the work which may help you understand our priorities and preferences in making the drawing.
In comparing a photograph of the subject with the drawing, you will notice that certain areas of tone are different from the light and shade in the photograph. If you have one dark area against another dark area the effect can be quite dull. To make their relationship more dynamic, you can lighten one to increase its contrast with the other. This kind of tonal adjustment happens throughout the drawing to create a more energetic rhythm of contrasts across the work.
Remember, you are not recreating the original subject; you are doing a drawing of it filtered through your visual preferences. This means that you can change whatever elements you wish to make the type of drawing you desire. Your drawing - your rules.
How to Draw a Tree - Detail 2
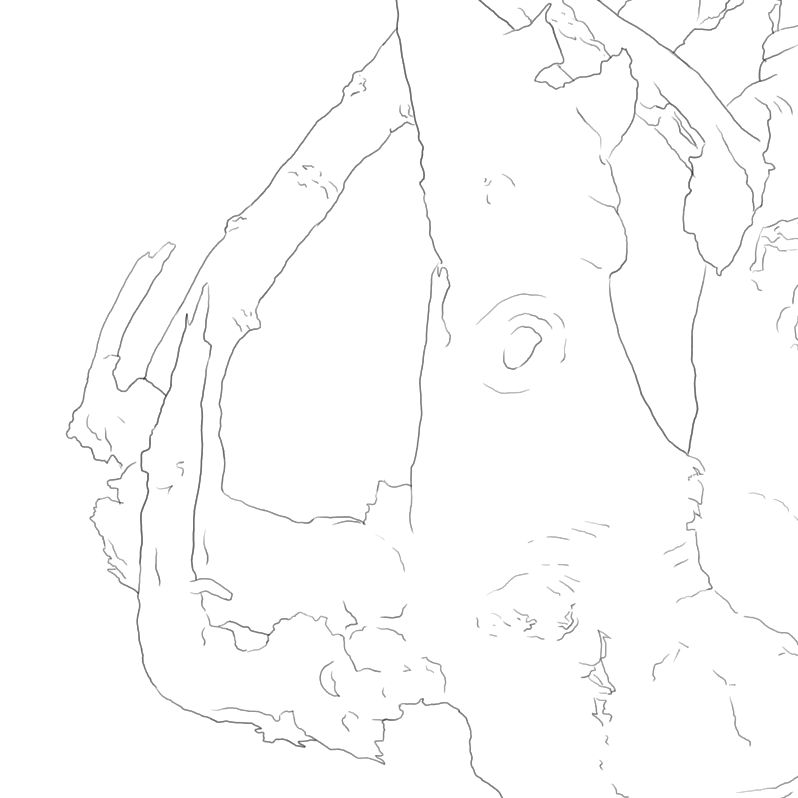
Another change that you may notice lies in the intricate details of the work.
It is a hopeless task to try to draw every detail exactly. In this case we did not want any leaves included as they were a sign of life, and our focus was on the decay and decline of the tree. They also obscured parts of the bark and some shaded areas which were difficult to see.
To achieve an overall visual intensity that incorporated these hidden parts, we had to find an equivalent for what was missing. This was done by creating forms and textures that were inspired by those we could readily see. So, although the drawing appears to be highly detailed, if you look closely you will see that much of this detail is invented, based on our observation of those more discernible areas.
How to Draw a Tree - Detail 3
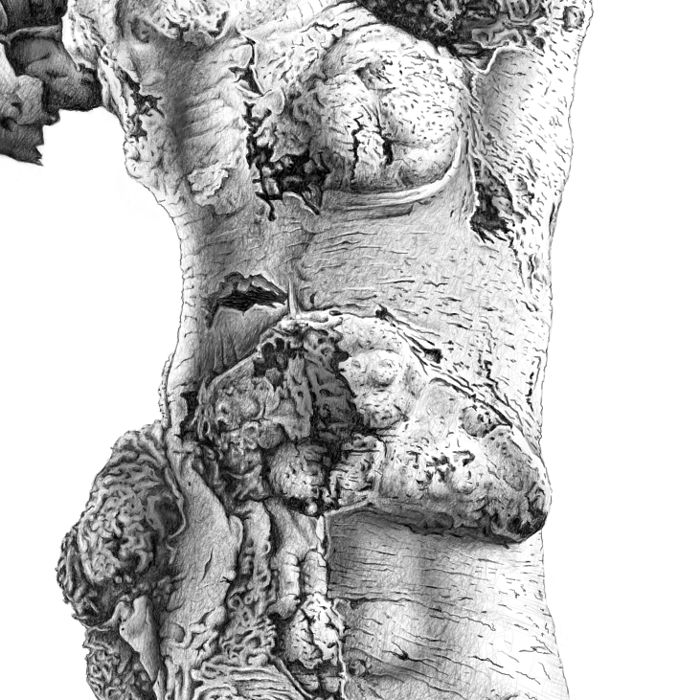
In this detail we examine the mark making used to portray the texture of the bark and its decaying cavities.
As the tree breaks down, the bark shrivels, bursts, and peels to reveal the rot within. The style of marks we use to convey this effect must follow these crumpled contours. Therefore, the direction of hatched lines and stipples in conjunction with the tonal shading, must flow in sympathy with these distorted forms to describe the deformity of the surface.
There are subtle tonal techniques you can use to enhance the definition of the image. If you look at the edges of the peeling bark, you can see that some sections have delicate highlights while others have sharp contrasts to make them stand out. Balancing out the strength of these elements across the drawing is key to the success of the work.
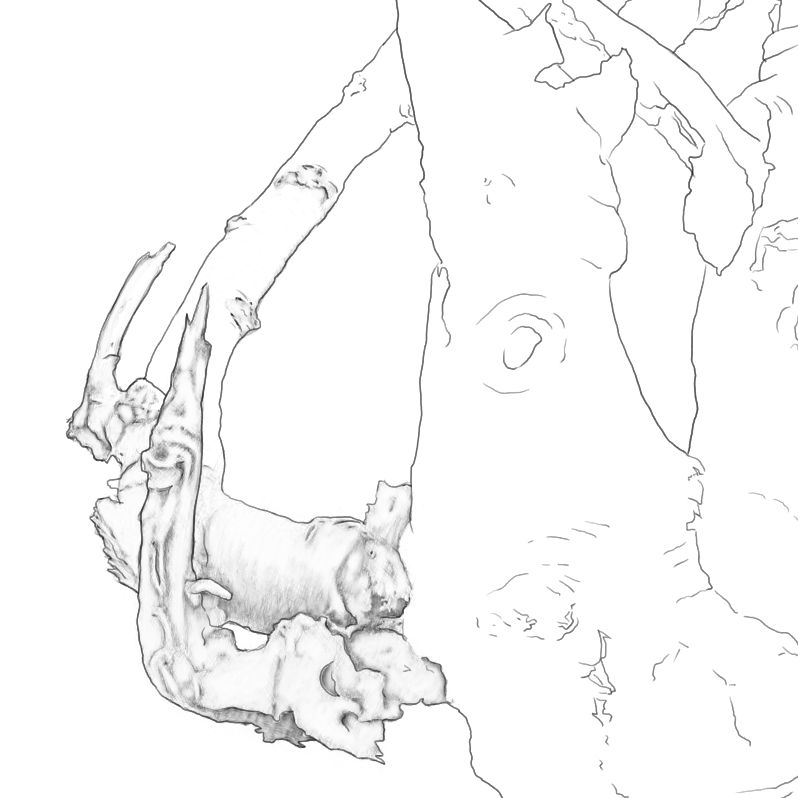
How to Draw a Tree - Detail 4
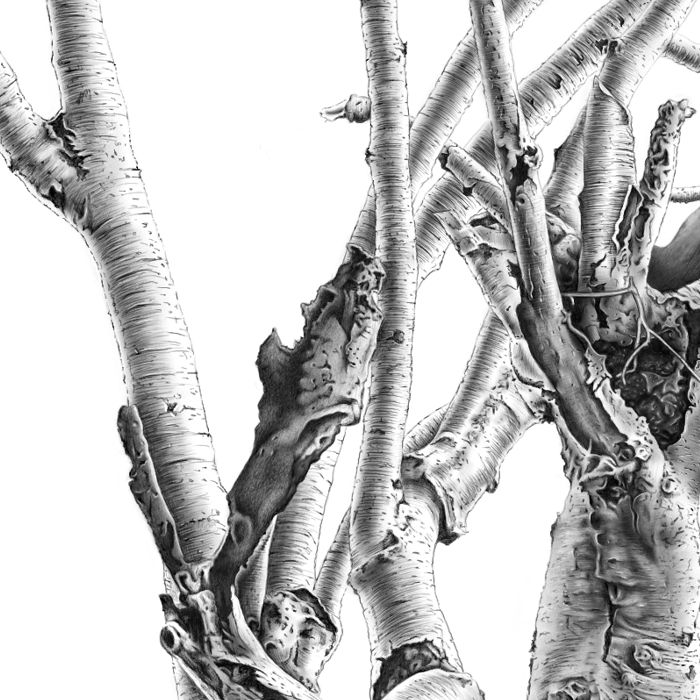
This detail focuses more on those branches that still have some life in them. They look stronger and still hold their cylindrical shape which makes them easier to illustrate.
The drawing technique used here was generally composed of four stages:
-
Stage 1: a soft tone was blended along the central column of each branch, slightly to one side. This picked up the main light source from the right and some reflected light from the left, offering the type of soft sheen that characterises the bark of a silver birch.
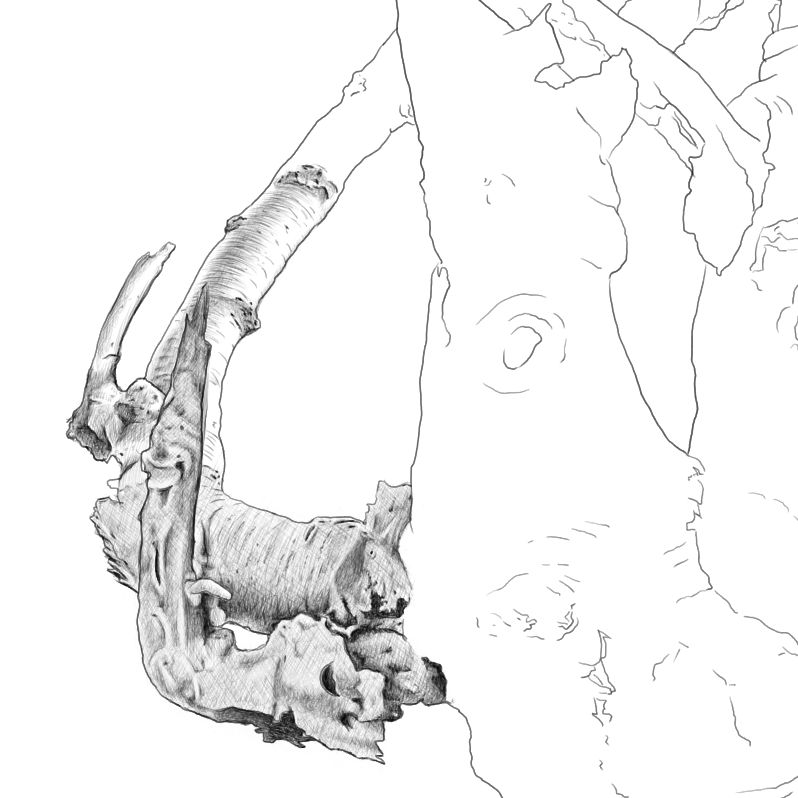
-
Stage 2: hatched lines and stipples were drawn to track the curves of the branches and emphasise their texture.
-
Stage 3: along with the dark hatched lines, some thin light lines were hatched using a sharpened eraser. This added to the subtlety of the shading and increased its accuracy.
-
Stage 4: the early signs of disease were suggested by inserting small areas of splitting bark, linking to the overall state of decay in the tree.
How to Draw a Tree - Detail 5
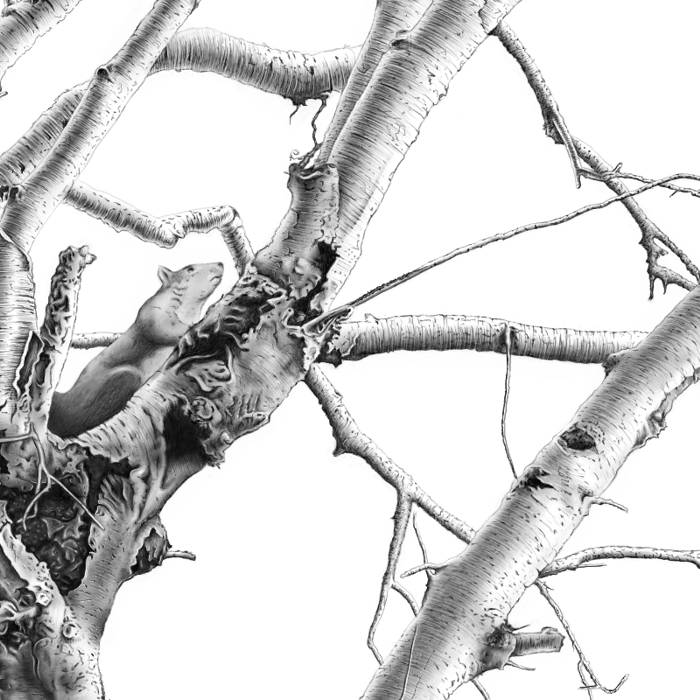
Although our drawing is about the decline of an old tree, in this detail we have included a young squirrel to lighten the mood of the image. It is a gentle reminder of the resurgence of life amidst its decay.
The technique used to suggest the soft fur of the squirrel was achieved with a gentle smudging and blending of tone, in contrast to the sharp hatching and stippling of the rotting tree. The difference between life and death in the subject and the smoothness and roughness of their textures helps to emphasise the qualities of both.
How to Draw a Tree - Detail 6
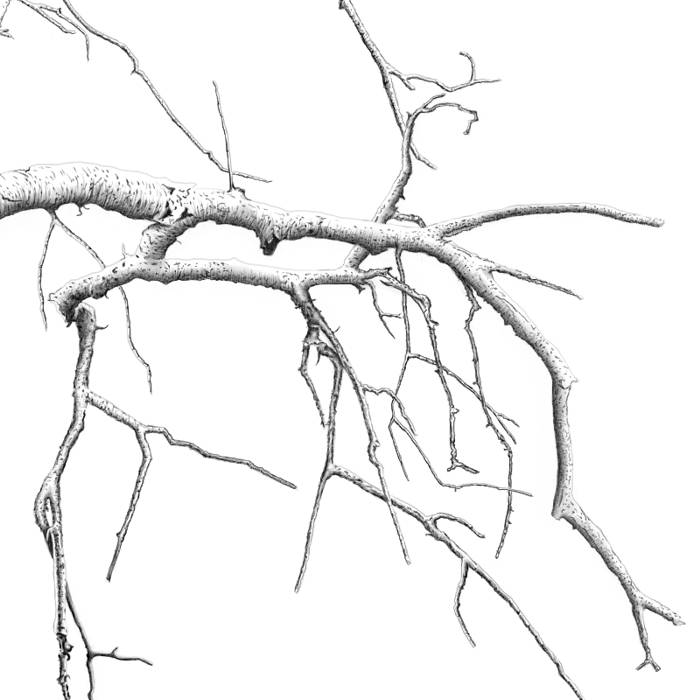
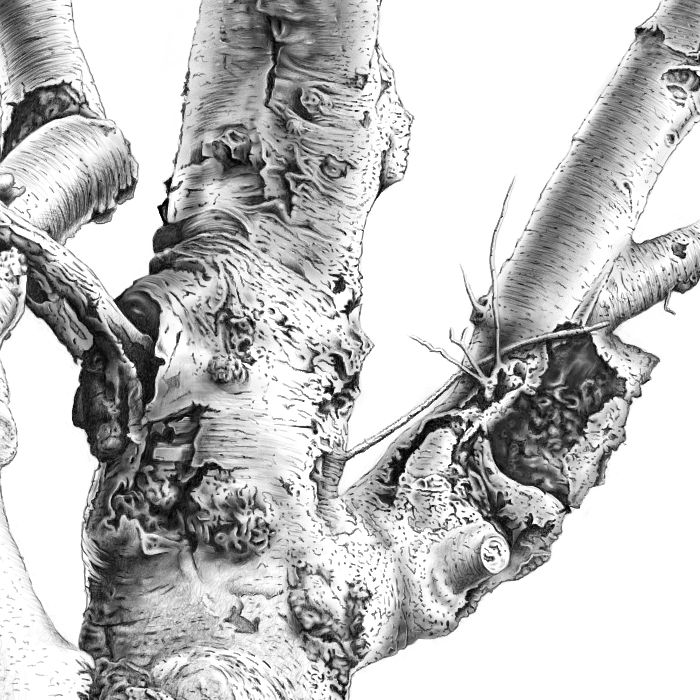
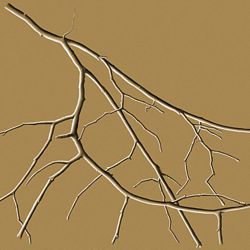
In the last of our details, we see the staggered pattern of branches that we explored in our previous lesson on how to draw tree branches. It is not a smooth development, but one where each offshoot stretches, twists, or forks with every surge of seasonal growth.
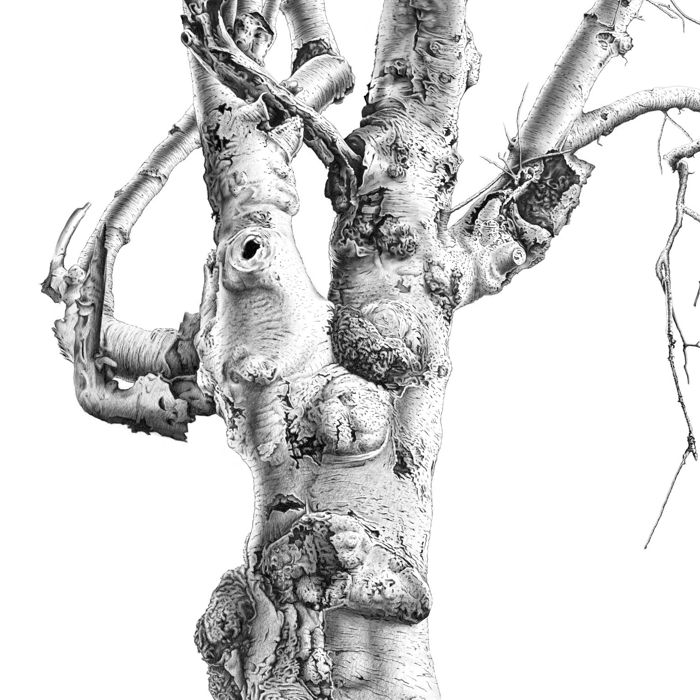
How to Draw a Tree - The Final Image
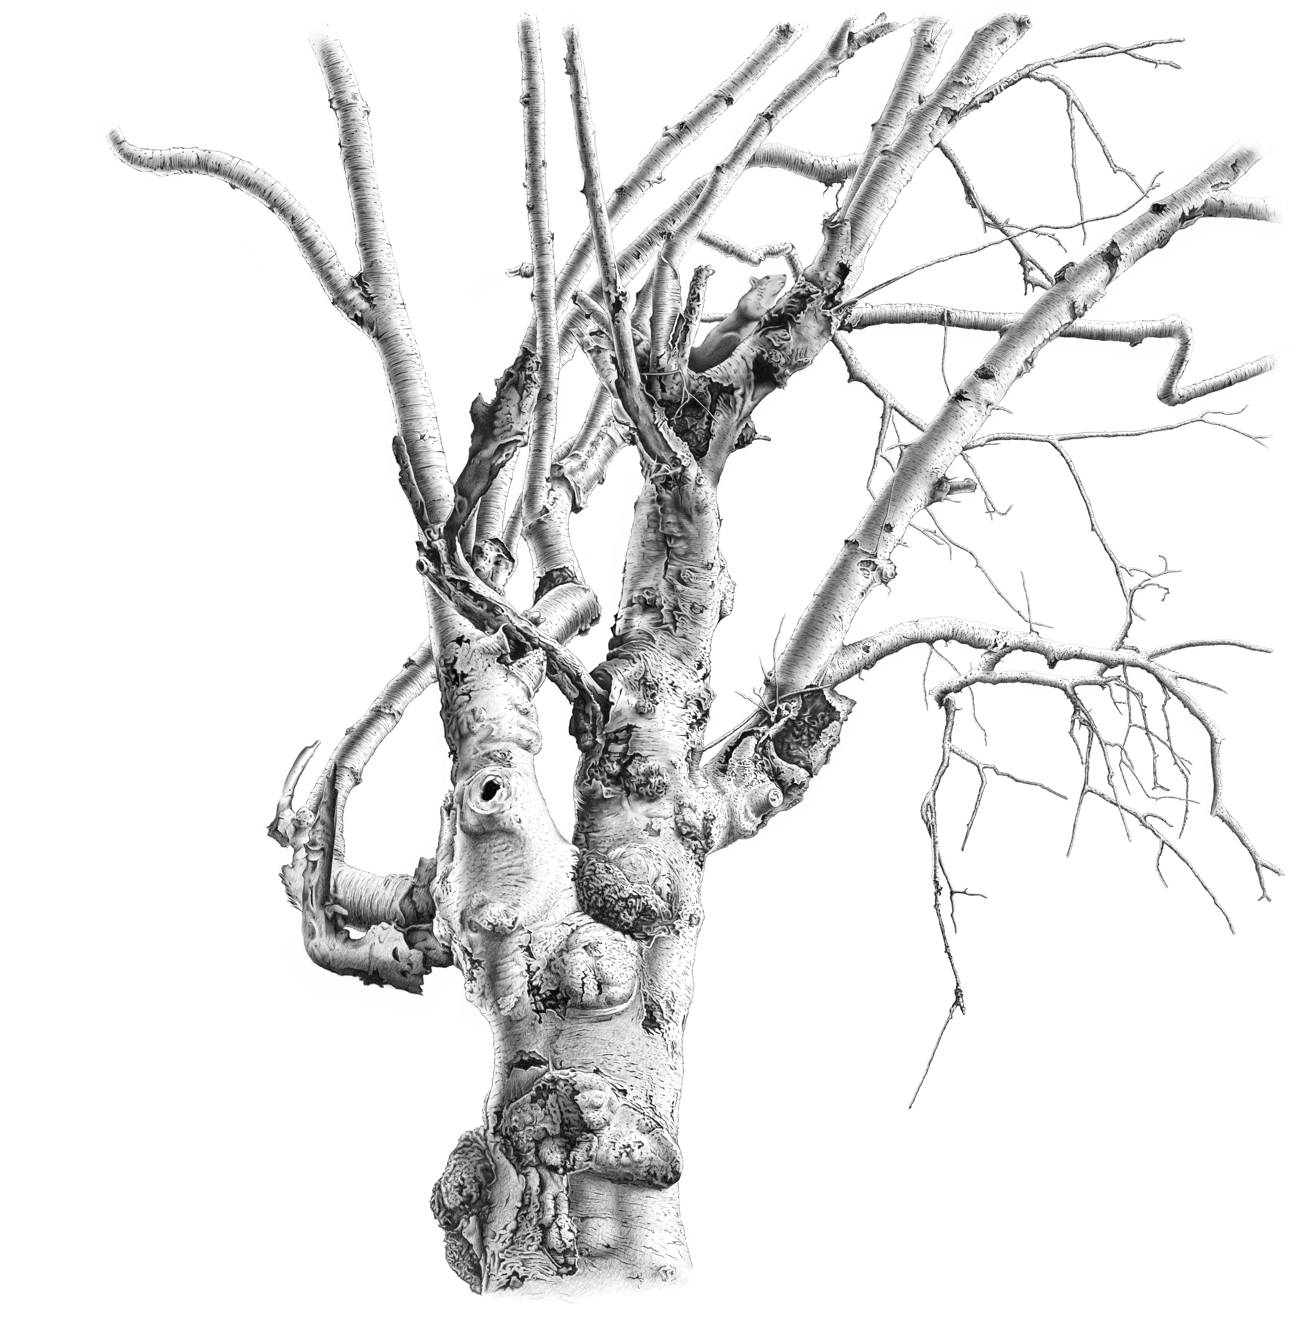
Our tree was drawn by John MacTaggart as a gift to his surgeon following an angioplasty and stenting procedure. During his consultation he was told that he had 'tree trunk lesions' blocking several arteries which would require stenting.
While out walking after receiving the angioplasty, with that curious 'tree trunk' phrase still echoing in his mind, he came across an old silver birch which resembled the screen images of his heart during the procedure. As an unexpected metaphor for his condition, he felt compelled to capture the image in a drawing.
On leaving the operating theatre John had thanked his surgeon who modestly replied, 'It’s what we do, Sir'. In recalling this moment, it struck him that the perfect way to express his gratitude for the life-changing gift he received, was to do 'what we do' in return ..... a drawing of a tree trunk with lesions.
