Pencil Portrait Drawing - How to Draw a Mouth
This lesson illustrates and explains the step-by-step pencil techniques used to draw a mouth.
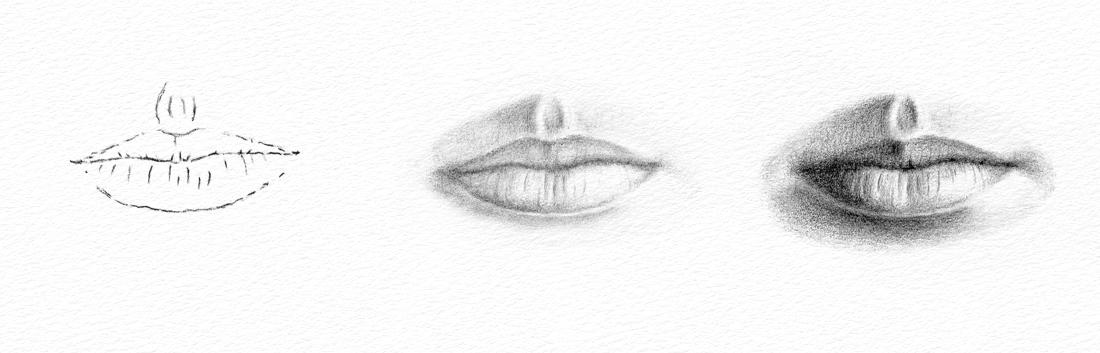
Our pencil study of a mouth is broken down into three steps to help you understand each stage of the drawing process. We start with the initial line drawing, then work through the application of basic tones and finally refine the overall form of the mouth with soft graduated shading.
How to Draw a Mouth - Step 1
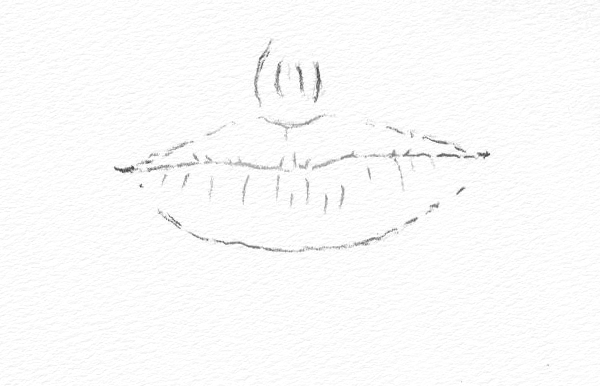
Step 1 - The Line Drawing
The mouth is the second most expressive feature of the face. Great care should be taken in drawing its shape as it is a key element in achieving a likeness.
-
Start by drawing the subtle shape of the line that is formed as the lips meet. This will create a natural expression for the mouth.
-
The top lip has its characteristic bow shape which varies considerably from person to person. The bottom lip is usually larger than the top and more creased with vertical stretch lines.
How to Draw a Mouth - Step 2
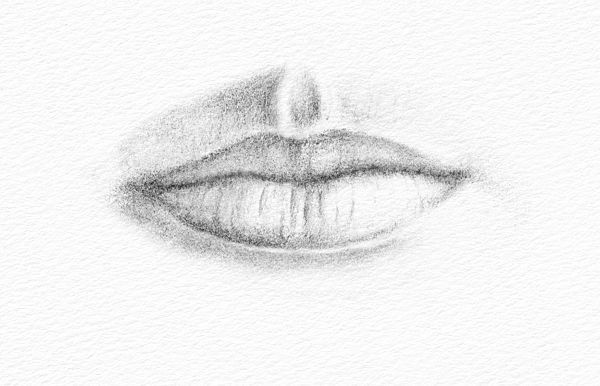
Step 2 - The Basic Tones
The upper lip slopes inwards and is normally darker in tone as it is shaded from the light.
-
The lower lip is more fleshy with a stronger muscular structure. It tends to catch the light and is further distinguished by the shadow below its pouting form.
How to Draw a Mouth - Step 3
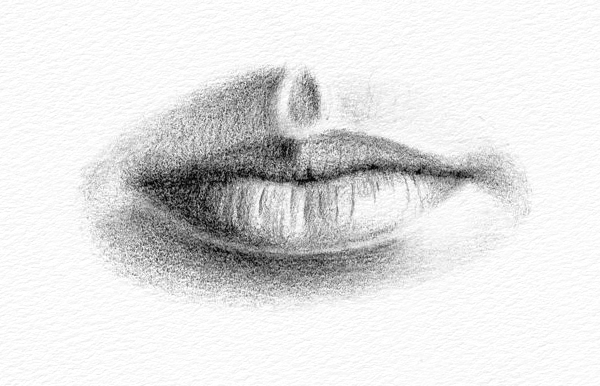
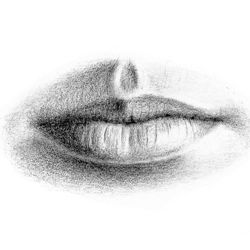
Step 3 - The Final Tones
In the final stages of drawing the mouth, tone is used to soften the edges and refine the detail.
-
Enhanced tones are used to highlight the surface texture of the skin and make you more aware of the muscular structure that lies beneath it.
-
There is a subtle softening around the edges of the lips which helps to blend them comfortably into the face.
-
Note how the detail at each corner of the mouth diffuses into a small area of tone. There are no sharp lines left in the final image.